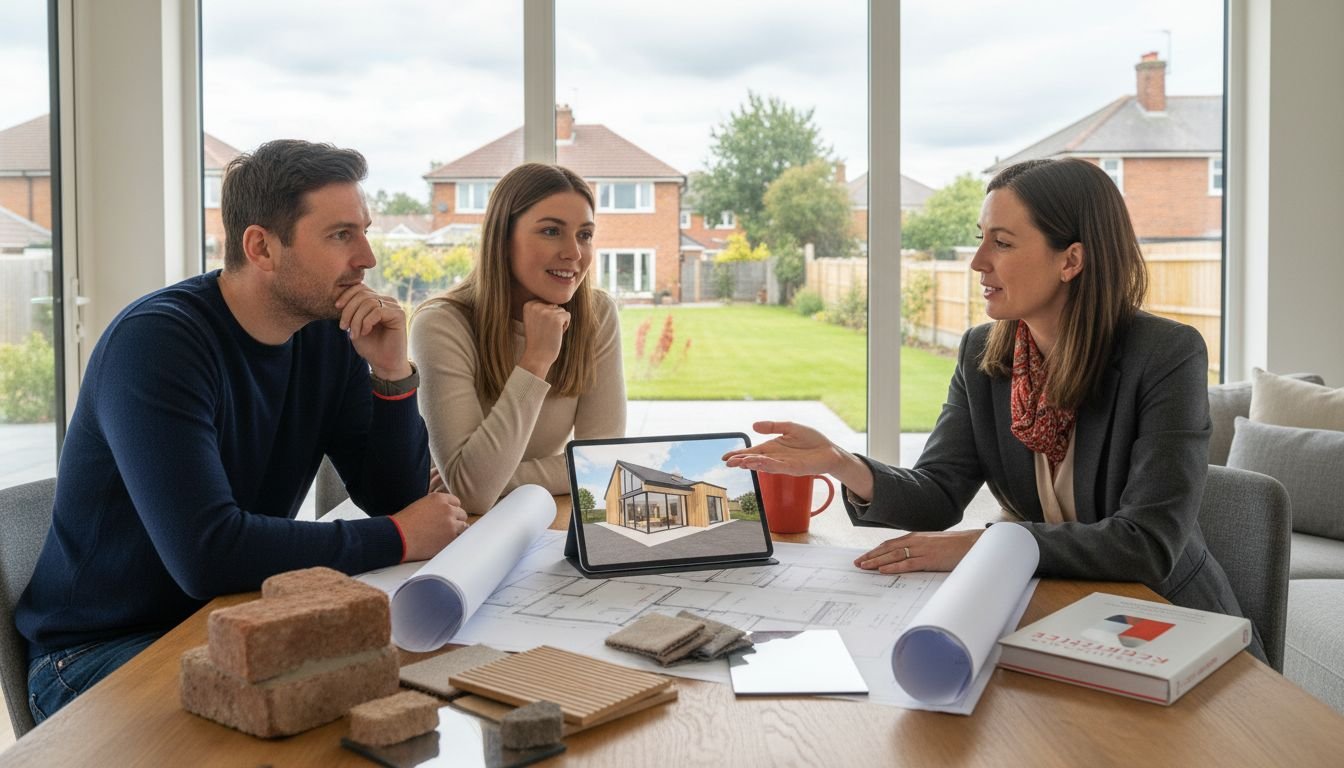
Building a british home extension is no small task, especially as over 60 percent of homeowners face unexpected hurdles before work even begins. Whether you are looking to create more space for a growing family or boost your property’s value, making the right decisions from the start shapes your entire project. This practical guide walks you through each essential step so you can avoid costly missteps and feel confident about every stage of your home extension journey.
Table of Contents
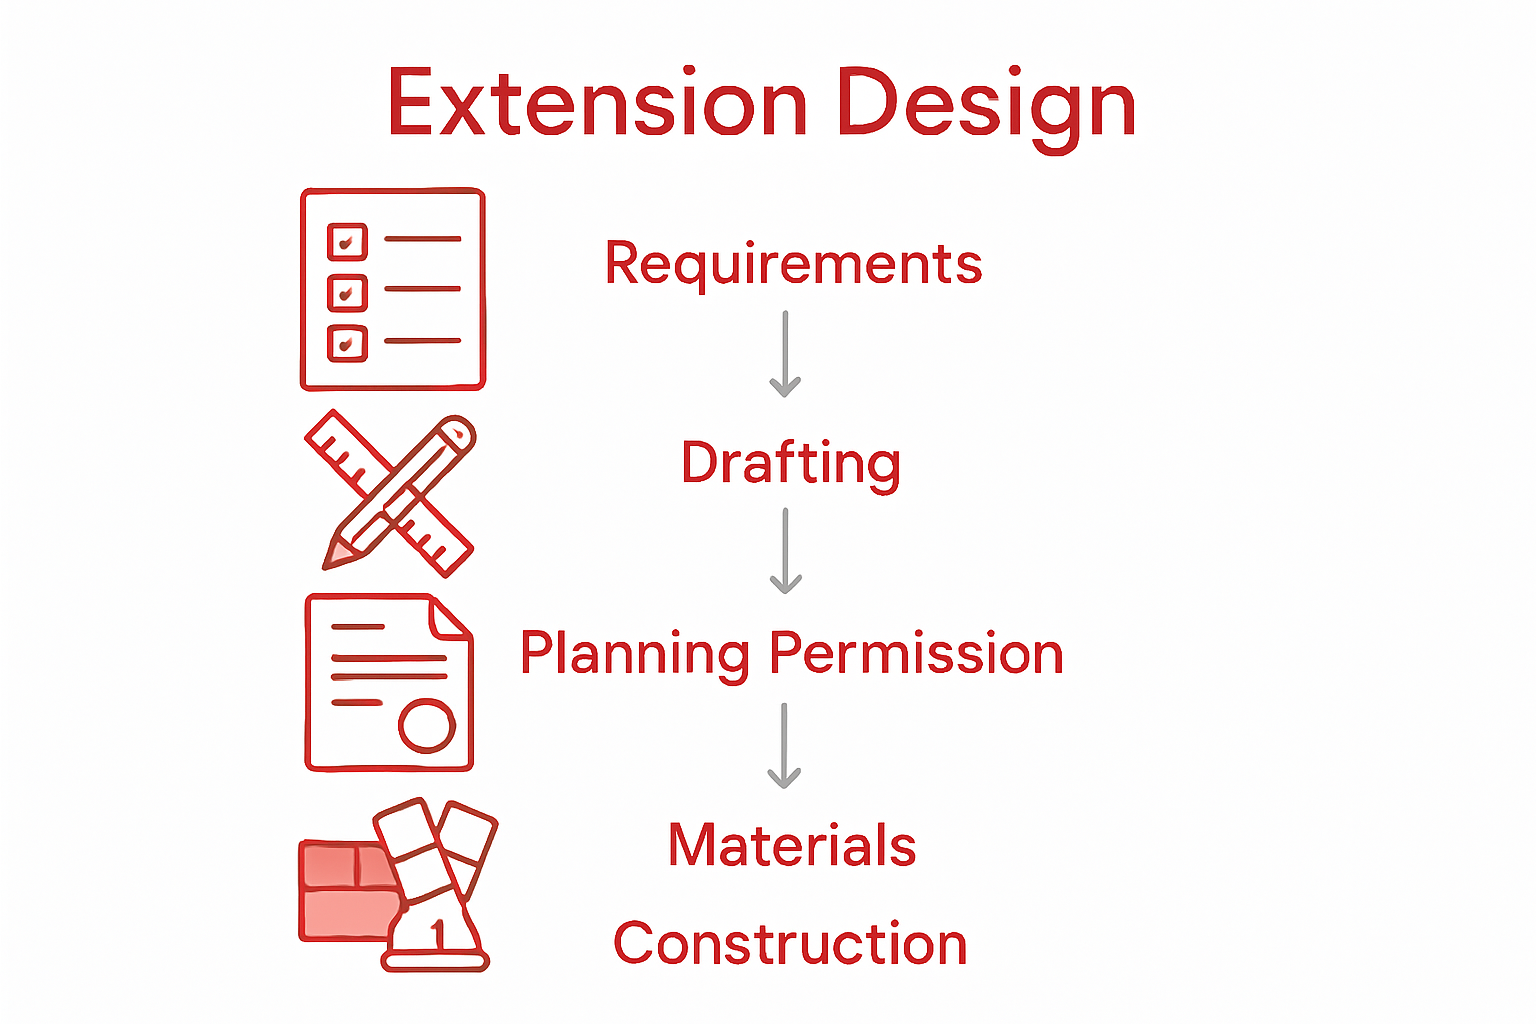
- Step 1: Assess Requirements And Set Objectives
- Step 2: Develop Detailed Extension Designs
- Step 3: Secure Planning Permissions And Approvals
- Step 4: Select Materials And Finalise Specifications
- Step 5: Oversee Construction And Quality Assurance
Quick Summary
| Key Point | Explanation |
|---|---|
| 1. Define project goals clearly | Understand your specific needs before starting a home extension to avoid scope creep and stay focused on essentials. |
| 2. Develop comprehensive designs | Create detailed architectural plans that harmonise with the existing structure and local context, considering natural light and functionality. |
| 3. Secure necessary planning permissions | Obtain planning approvals by reviewing local regulations, preparing thorough documentation, and engaging with authorities to streamline the process. |
| 4. Select materials thoughtfully | Choose materials that match your design intent and the original building’s character while ensuring durability and efficiency. |
| 5. Oversee construction closely | Maintain active oversight during construction to ensure quality, compliance with regulations, and adherence to design specifications. |
Step 1: Assess Requirements and Set Objectives
Kicking off your home extension journey begins with a crystal clear understanding of what you want to achieve. According to the HomeOwners Alliance, the first critical step is defining your project goals with precision and understanding your budget constraints.
Start by conducting a thorough assessment of your current living space. What specific challenges are you looking to solve? Perhaps you need an extra bedroom, want to create an open plan kitchen dining area, or are seeking to increase your property’s overall value. As the Wigan Council Design Guide recommends, your extension should complement both your existing dwelling and surrounding architectural context.
Pro Tip: Create a detailed brief that outlines your must-have features versus nice-to-have elements. This will help prevent scope creep and keep your project focused.
Your objectives should be specific measurable and realistic. Consider factors like natural light, space utilisation, potential future needs, and how the extension will integrate with your current home’s layout. By taking a methodical approach to defining your requirements upfront, you set the foundation for a successful home transformation that meets both your practical needs and aesthetic aspirations.
With your requirements clearly mapped out, you’re now ready to move on to the next crucial stage: preliminary design exploration.
Step 2: Develop Detailed Extension Designs
With your project requirements clearly defined, it is time to transform your vision into precise architectural plans. Lancaster City Council emphasises the critical importance of developing detailed designs that harmonise seamlessly with your existing building and local architectural context.
Begin by creating initial sketch designs that capture your core objectives. Consider how each design element will impact natural light, spatial flow, and overall functionality. According to Birmingham City University’s ArchitectUS project, comprehensive architectural designs should integrate contemporary standards while respecting the unique character of your home.
Pro Tip: Always draft multiple design iterations. Your first concept rarely represents your best possible solution.
Ensure your designs address practical considerations such as structural integrity, thermal efficiency, and potential future adaptability. Pay close attention to material selection, ensuring they complement your existing property and meet local planning regulations.
 Consider consulting a professional architectural designer who can help refine your concept and anticipate potential challenges.
With detailed designs now taking shape, you are ready to progress to the next crucial stage: obtaining necessary permissions and approvals.
Step 3: Secure Planning Permissions and Approvals
Now that your detailed extension designs are complete, navigating the planning permission landscape becomes your critical next step. Reading Borough Council emphasises that obtaining planning approval requires meticulous documentation and strict adherence to local planning policies.
Begin by thoroughly reviewing local planning regulations and preparing a comprehensive application package. According to Wigan Council’s Design Guide, early engagement with planning authorities can significantly streamline the approval process. Gather all necessary documents including detailed architectural drawings, site plans, material specifications, and any required impact assessments.
Pro Tip: Always include precise measurements, proposed materials, and how your extension will integrate with the existing property to demonstrate thoughtful design.
Prepare for potential queries or requests for additional information by maintaining clear communication with your local planning department.
Understanding that each local authority may have unique requirements means being flexible and responsive throughout the approval process. Consider consulting a professional planning consultant who can help navigate potential complexities and increase your chances of successful approval.
Once you have submitted your application, learn more about understanding the house extension approval process while awaiting the council’s decision.
Step 4: Select Materials and Finalise Specifications
With planning permissions secured, you now enter the crucial stage of selecting materials and refining your extension’s technical specifications. Lancaster City Council emphasises the importance of choosing materials that harmonise with your existing dwelling considering factors like colour, texture, and long-term durability.
Start by conducting a comprehensive material assessment that matches your design intent and budget constraints. According to Wigan Council’s Design Guide, your material selection should align closely with the original building’s architectural character. This means carefully evaluating options such as brick types, window materials, roofing solutions, and interior finishes that create a cohesive visual narrative.
Pro Tip: Always request material samples and view them in natural light against your existing property to ensure a perfect aesthetic match.
Consider not just aesthetic qualities but also practical performance characteristics such as thermal efficiency, maintenance requirements, and long-term sustainability. Engage with specialist suppliers who can provide technical specifications and performance data for each material. Pay particular attention to how different materials interact thermal performance, sound insulation, and structural integrity.
With your materials and specifications meticulously selected, you are now prepared to move forward to the critical next phase: preparing for construction and site preparation.
Step 5: Oversee Construction and Quality Assurance
As your extension project transitions from design to physical construction, active oversight becomes paramount. HomeOwners Alliance recommends setting clear expectations by establishing robust communication channels and comprehensive contractual agreements with your construction team.
According to Wigan Council’s Design Guide, maintaining rigorous quality control requires consistent monitoring of construction progress, ensuring strict adherence to building regulations and original design specifications. Schedule regular site visits to track workmanship, verify material quality, and address any potential deviations promptly.
Pro Tip: Document every stage of construction with photographs and written notes to create a comprehensive project record.
Establish a systematic approach to quality assurance by implementing checkpoints at critical construction phases. This includes verifying structural integrity, insulation standards, plumbing and electrical installations, and overall compliance with your approved plans. Maintain open dialogue with your construction team, addressing concerns immediately and collaboratively to prevent minor issues from escalating.
With meticulous construction oversight complete, you are now approaching the final stages of transforming your extension from concept to reality.
Take Control of Your Home Extension Journey Today
Feeling overwhelmed by the complex steps involved in your home extension design and build? This article highlights common challenges such as defining clear objectives, creating detailed designs, securing permissions, and managing construction quality. If you want to avoid costly delays or design mismatches, focusing on practical planning and expert guidance is essential. Key goals like achieving seamless integration with your existing home while meeting local regulations require professional insight and careful project management.
At Reltic Extend we specialise in guiding homeowners across London and Surrey through every stage of bespoke extensions. Whether you are tackling Planning & Permissions for Home Extensions | Reltic Extend, need expert Design & Build Tips for Home Extensions | Reltic Extend or want trusted Project Management for Home Extensions | Reltic Extend, we combine 20 years of experience with transparent pricing and a 10-year structural warranty. Start your seamless extension journey now instead of facing unexpected obstacles later.
Discover the peace of mind that comes with expert support and tailored solutions at every step. Reach out today via our contact page and turn your extension vision into a stunning reality without delay.
Frequently Asked Questions
What are the first steps in the workflow for extension design?
To start your extension design, assess your requirements by defining clear project goals and understanding your budget. Document your must-have features and preferred layout to establish a focused plan moving forward.
How do I create detailed designs for my home extension?
Once you have your project goals set, develop detailed architectural designs that harmonise with your existing property. Sketch multiple iterations to explore various options and refine your approach based on functionality and aesthetics.
What documents are needed to secure planning permissions for an extension?
To apply for planning permission, prepare a comprehensive application that includes architectural drawings, site plans, and material specifications. Ensure you meet local planning policies by reviewing regulations thoroughly before submission.
How can I ensure the quality of construction for my extension?
To maintain quality during construction, conduct consistent site visits to verify adherence to approved plans and building regulations. Document every stage of construction with photographs to track progress and address any issues promptly.
What factors should I consider when selecting materials for my extension?
Choose materials that align with the architectural character of your existing home, focusing on colour, texture, and durability. Request samples to see how they look in natural light against your property to ensure a cohesive aesthetic.
How can I successfully oversee the construction of my extension?
Establish clear communication with your construction team and implement quality assurance checkpoints at critical phases. Maintain an open dialogue to address any concerns and keep the project on track, aiming for successful completion within your expected timeline.


