
Nearly 40 percent of homeowners encounter unexpected challenges when planning a rear extension. Deciding how to expand your living space is exciting, but the process can quickly become complex and stressful without the right guidance. From setting realistic goals to choosing the right contractors, each phase shapes the quality and success of your project. This guide breaks down every stage of the rear extension journey, offering clear steps to help you plan, approve, and build with confidence.
Table of Contents
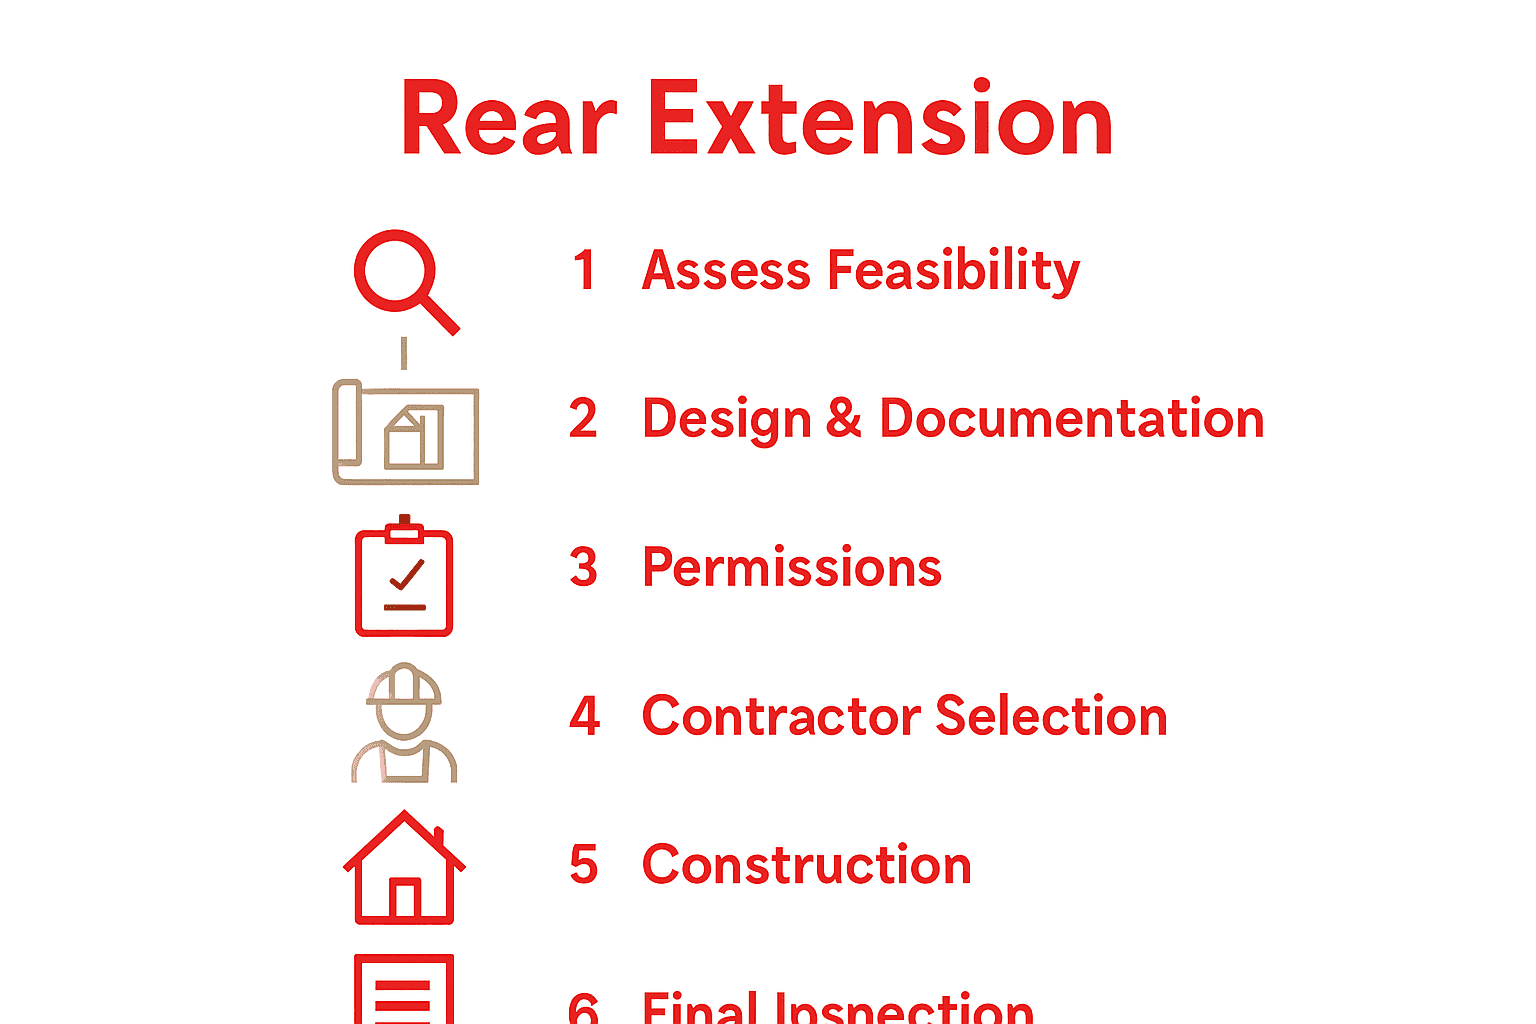
- Step 1: Assess Feasibility And Set Your Extension Goals
- Step 2: Create Design Plans And Prepare Documentation
- Step 3: Secure Necessary Planning Permissions And Approvals
- Step 4: Select Contractors And Finalise Project Schedule
- Step 5: Oversee Construction And Ensure Quality Standards
- Step 6: Complete Inspections And Hand Over Your New Space
Quick Summary
| Key Point | Explanation |
|---|---|
| 1. Assess project feasibility first | Conduct a thorough property assessment to understand planning requirements and limitations. This helps ensure your project is viable. |
| 2. Create detailed design plans | Develop precise architectural drawings and documentation to reflect your vision and comply with local building regulations. |
| 3. Secure planning permissions early | Obtain necessary planning approvals before construction to avoid legal issues and ensure your project meets local standards. |
| 4. Choose experienced contractors | Select reputable contractors with a strong track record in home extensions to ensure quality and timely completion of your project. |
| 5. Oversee construction closely | Regularly monitor construction progress and maintain open communication to ensure adherence to quality standards and design specifications. |
Step 1: Assess feasibility and set your extension goals
Assessing the feasibility of your rear extension project is a critical first step that determines the success and viability of your home improvement plan. In this initial stage, you will evaluate your property’s potential, understand potential constraints, and establish clear goals for your extension project.
Start by conducting a thorough property assessment that considers several key factors. According to Gov UK, homeowners must first determine whether their planned extension requires planning permission. This involves carefully measuring your available rear space, understanding local building regulations, and evaluating potential impacts on neighboring properties. As Hastings Borough Council emphasizes, it is crucial to consider how your extension might affect adjacent properties in terms of light access and privacy.
Your extension goals should be realistic and aligned with your specific needs. Consider questions like: Do you want additional living space? Are you seeking to create a larger kitchen? Are you hoping to increase your property’s market value? By clearly defining your objectives, you can make informed decisions about design, budget, and scope. A professional consultation can help you refine these goals and identify potential challenges early in the planning process.
Pro Tip: Take detailed measurements and photographs of your current space to help architects and designers understand your property’s unique characteristics and potential.
With your initial assessment complete, you are now prepared to move forward to the next stage of extension planning Extension Design Process: Step-by-Step Guide for Homeowners, where you will begin translating your goals into a concrete design strategy.
Step 2: Create design plans and prepare documentation
With your extension goals established, the next crucial stage involves transforming your vision into detailed design plans and comprehensive documentation. This step requires precision, strategic planning, and a thorough understanding of local planning requirements.
According to Reading Borough Council, creating design plans demands meticulous attention to detail that complements your existing dwelling. Your documentation should include precise architectural drawings, detailed floor plans, elevation sketches, and materials specifications. Haringey Council emphasizes the importance of comprehensive documentation to ensure compliance with local planning policies. This means capturing exact measurements, proposed building materials, window and door placements, and how the extension will integrate with your current property structure.
When preparing your design documentation, focus on creating clear technical drawings that communicate your vision effectively. Consider working with a professional architect or architectural technician who understands local building regulations and can translate your goals into professionally rendered plans. These experts can help you navigate potential challenges such as maximizing natural light, ensuring structural integrity, and maintaining aesthetic harmony with your existing home.
Pro Tip: Always include multiple perspective drawings in your documentation showing how the extension will look from different angles both externally and internally.
With your design plans and documentation prepared, you are now ready to move forward to the next critical phase of Understanding the Home Extension Planning Checklist, where you will submit your plans for initial review and approval.
Step 3: Secure necessary planning permissions and approvals
Securing the necessary planning permissions and approvals is a critical stage in your rear extension project that requires careful navigation of local regulations and administrative procedures. This step transforms your design plans from conceptual sketches to legally sanctioned construction blueprints.
According to Gov UK, obtaining planning permission is essential before commencing any construction work to avoid potential enforcement actions. Hounslow Council provides specific guidance on the prior approval process, particularly for single-storey rear extensions. This typically involves submitting detailed documentation to your local planning authority, which will assess your proposed extension against local building regulations and neighborhood planning policies.
The permission process requires comprehensive documentation including your architectural drawings, site plans, and a detailed explanation of how the extension will impact the existing property and surrounding environment. You will need to demonstrate that your proposed extension meets specific criteria related to height, proximity to boundaries, and overall design compatibility. Professional architects or planning consultants can be invaluable during this stage, helping you prepare robust documentation that addresses potential concerns and increases the likelihood of approval.
Pro Tip: Always engage with your local planning authority early in the process and be prepared to make minor adjustments to your plans to ensure compliance.
Once you have gathered all necessary documentation, you can move forward to Understanding the Planning Permission Requirements List, which will help you navigate the final stages of securing your extension approval.
Step 4: Select contractors and finalise project schedule
Selecting the right contractors and developing a comprehensive project schedule are pivotal moments that can make or break your rear extension project. This stage transforms your carefully crafted plans into a tangible construction roadmap with real people and timelines.
When selecting contractors, prioritize professional teams with proven experience in rear extensions and a strong local reputation. Request detailed quotes from multiple contractors, comparing not just pricing but also their approach to project management, estimated timelines, and previous work portfolios. Verify their credentials thoroughly by checking professional certifications, insurance coverage, and requesting references from recent clients who have completed similar home extension projects.
Creating a robust project schedule requires collaborative planning with your chosen contractor. Break down the entire project into distinct phases including site preparation, foundation work, structural modifications, internal finishing, and final touches. Discuss potential challenges such as material delivery times, potential weather interruptions, and how unexpected issues will be managed. Ensure your contract includes clear milestones, payment schedules, and contingency plans for potential delays or unforeseen complications.
Pro Tip: Always include a buffer of 10-15% in your project timeline to accommodate unexpected challenges or potential delays.
With your contractors selected and project schedule established, you are ready to progress to Understanding the House Extension Approval Process, which will guide you through the final preparatory steps before construction begins.
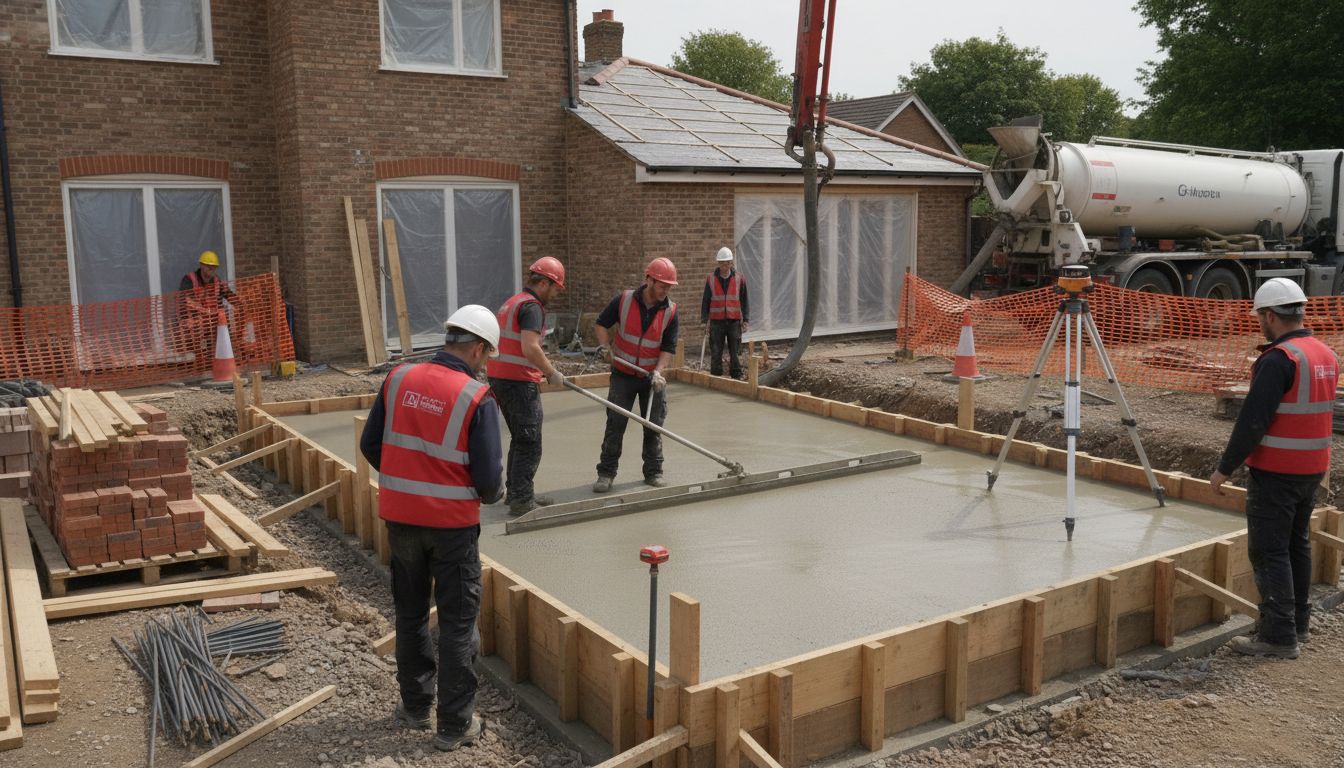
Step 5: Oversee construction and ensure quality standards
Overseing the construction of your rear extension requires active engagement, keen attention to detail, and a proactive approach to maintaining quality standards throughout the building process. This critical stage transforms your carefully planned designs into a tangible living space that meets your expectations and complies with all technical requirements.
Effective construction oversight involves regular site visits and open communication with your contractors. Schedule weekly check-ins to review progress, discuss any emerging challenges, and ensure that every aspect of the build aligns with your original design specifications. Pay close attention to critical construction phases such as foundation work, structural modifications, and material installations.
 Verify that all workmanship meets professional standards by closely examining the quality of materials, precision of installations, and adherence to the agreed project timeline.
Beyond visual inspections, maintain comprehensive documentation throughout the construction process. Keep detailed records of all communications, change orders, material specifications, and progress photographs. This documentation serves multiple purposes protecting your interests, tracking project evolution, and providing a reference point for any future maintenance or potential disputes. Develop a systematic approach to quality control by creating a comprehensive checklist that covers structural integrity, aesthetic requirements, and functional specifications.
Pro Tip: Take high resolution photographs of each construction phase to create a visual record of the extension progress and document any significant milestones or potential issues.
As you near the completion of your construction phase, you can prepare to move forward to Planning Permission for Extensions, which will guide you through the final verification and compliance steps.
Step 6: Complete inspections and hand over your new space
The final stage of your rear extension project involves comprehensive inspections and the exciting process of handing over your newly transformed living space. This critical phase ensures that every aspect of your construction meets professional standards and transforms your vision into a fully functional reality.
Begin the inspection process by conducting a thorough walkthrough with your primary contractor, methodically examining each area of the new extension. Check every detail from structural integrity to finishing touches such as paintwork, flooring, electrical installations, and plumbing connections. Look for any imperfections, uneven surfaces, or areas that do not precisely match your original design specifications. During this detailed assessment, document any issues requiring rectification and establish a clear timeline for addressing these final adjustments.
After completing your initial inspection, arrange for professional building control certification to formally validate the construction quality. This official verification involves independent experts who will assess whether your extension complies with building regulations, structural requirements, and safety standards. Collect and organize all relevant documentation including completion certificates, warranty information, and detailed records of materials used. These documents are crucial for future property valuations, potential insurance claims, and maintaining the long term value of your home improvement project.
Pro Tip: Create a comprehensive handover folder containing all project documentation, photographs, material specifications, and contact information for contractors to maintain a complete record of your extension project.
With your new space fully inspected and certified, you can now celebrate your successful home transformation by exploring Understanding the House Extension Approval Process to ensure all final administrative steps are completed.
Make Your Rear Extension Seamless with Expert Guidance
Planning a rear extension can feel overwhelming with so many steps to navigate and rules to follow. This guide highlights common challenges like securing planning permissions, designing to match your home, and managing construction without surprises. You want additional space that is functional and stylish, yet worry about delays, unexpected costs, or tricky regulations.
At Reltic Extend, we understand these concerns deeply. Our Planning & Permissions for Home Extensions | Reltic Extend experts simplify complex approvals so you can feel confident moving forward. Our dedicated Project Management for Home Extensions | Reltic Extend team ensures your build stays on track, meets quality standards, and fits your lifestyle perfectly.
Don’t let the process slow you down. Take control now by contacting us directly at https://relticextend.co.uk/contact-us for personalised support.
 Together we can turn your rear extension vision into a smooth, stress-free reality that enhances your home and life.
Frequently Asked Questions
What are the first steps in assessing the feasibility of a rear extension?
Evaluate your property for potential space, necessary planning permissions, and local regulations. Start by measuring your rear area and considering the impact on neighboring properties to determine how feasible your project is.
How do I create a design plan for my rear extension?
Develop your design plan by preparing detailed architectural drawings, floor plans, and material specifications. Collaborate with a professional architect to ensure your designs meet all local planning requirements and align with your vision.
What documentation is needed to secure planning permission for a rear extension?
You need to compile architectural drawings, site plans, and a detailed explanation of how the extension impacts your property and surroundings. Ensure that your documentation adheres to local building regulations to facilitate a smooth approval process.
How can I effectively select contractors for my rear extension project?
Choose contractors with experience in rear extensions by comparing quotes and reviewing portfolios of their past work. Verify their qualifications and request references to ensure that they can deliver quality work within your project timeline.
What should I prioritize during the construction phase of my extension?
Focus on regular site visits and open communication with contractors to monitor progress and address any emerging issues. Maintain a quality control checklist to ensure all work meets your original specifications and standards.
How do I conduct the final inspection of my new extension?
Perform a thorough walkthrough with your contractor, checking for any discrepancies in the finished work compared to your design plans. Document any issues and set a timeline for necessary corrections to ensure the quality and compliance of your new space.


